图解Windows 10下Git安装方法
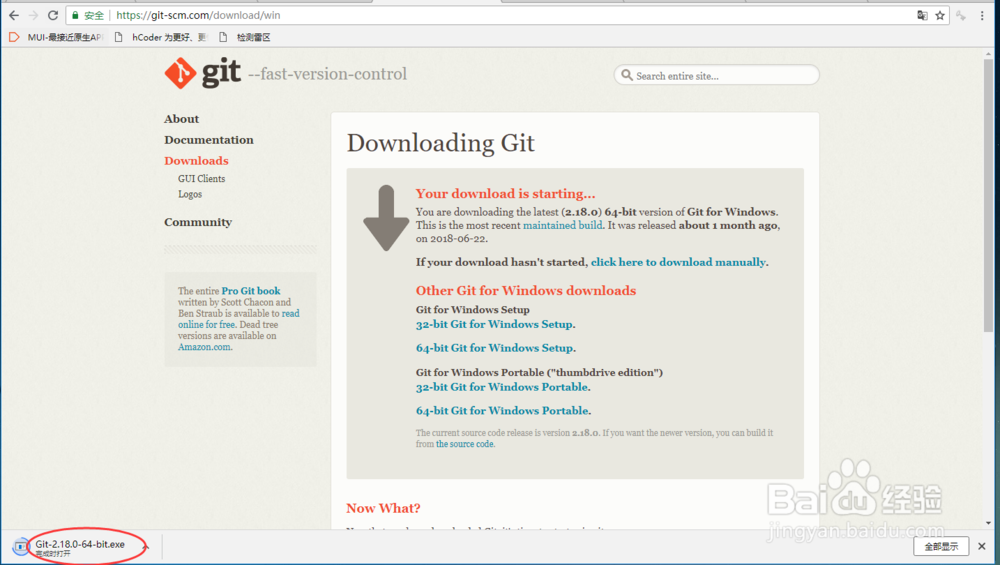
1、从git-scm.com/downloads上下载Git,如下图所示:
2、下载完成进行安装,如下图所示:

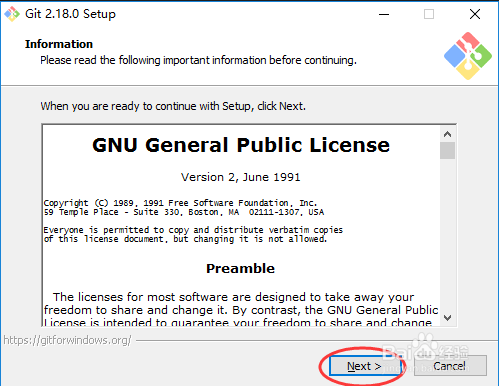
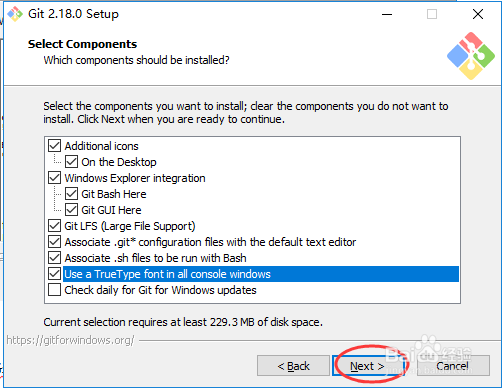
3、点击“Next”,如下图所示:
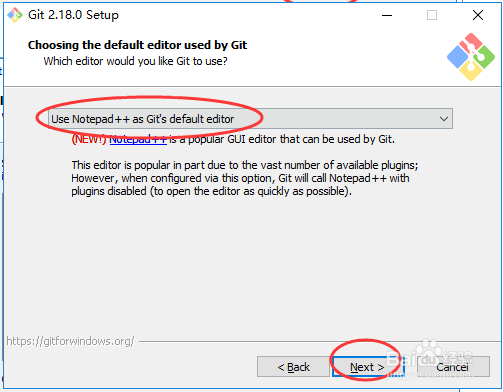
4、选择Git默认打开的编辑器,然后点击“Next”,如下图所示:
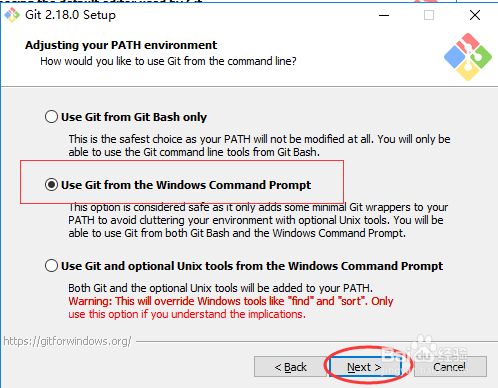
5、选择“Use Git from the Windows Command Prompt”,点击“Next”,如下图所示:
6、选择“Use the native Windows Security Channel library”,点击“Next”,如下图所示:

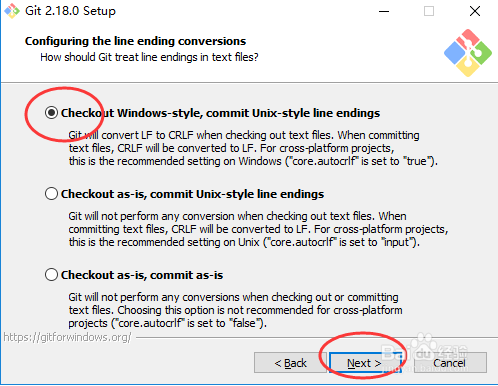
7、选择“Checkout Windows-style,commit Unix-style line endings”,点击“Next”,如下图所示:
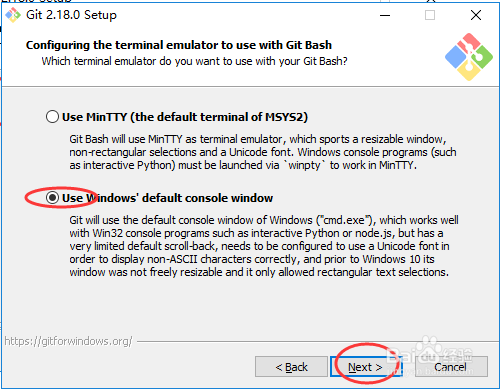
8、选择“Use Windows default console window”,点击“Next”,如下图所示:
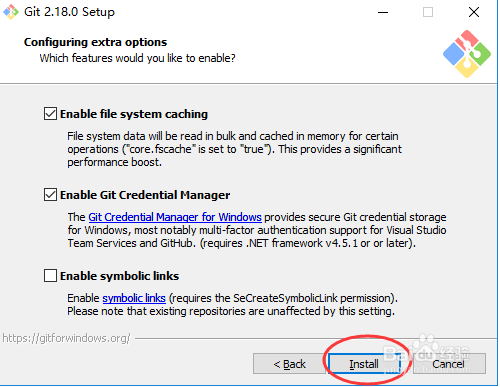
9、点击“Install”,如下图所示:
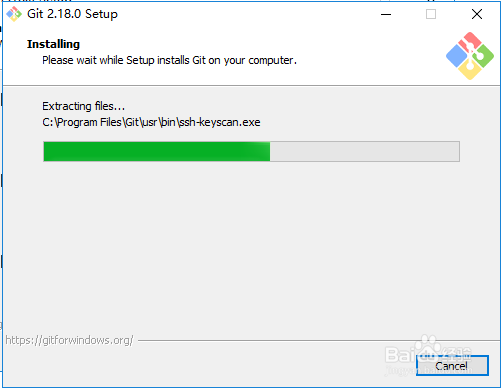
10、安装过程如下图所示:
11、完成Git安装,如下图所示:

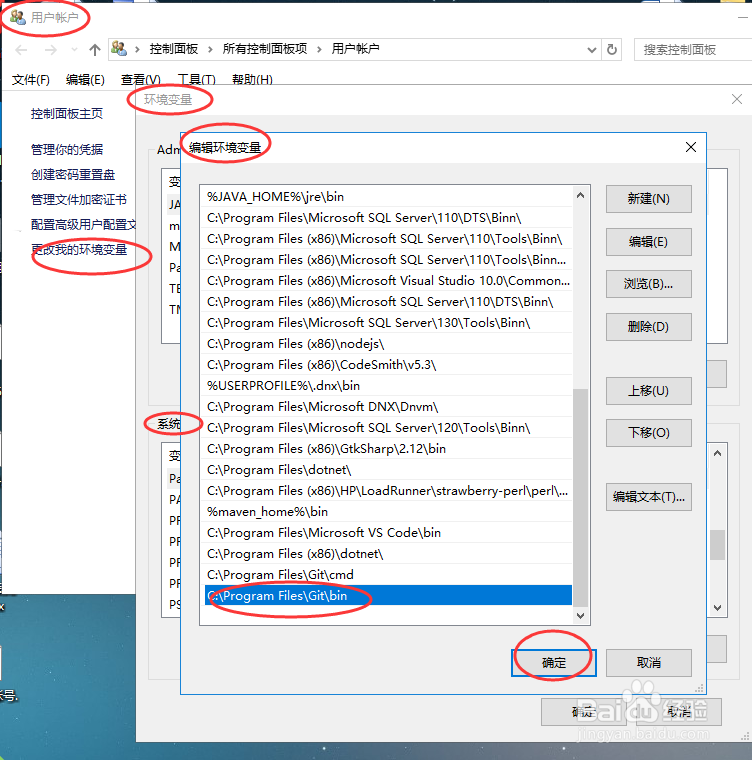
12、将Git的bin目录 添加到环境变量,下图为window 10 系统中将git 的bin目录添加到系统的环境变量 ,如下图所示:

阅读量:64
阅读量:35
阅读量:157
阅读量:112
阅读量:134