Ubuntu Server 18.04.3安装步骤
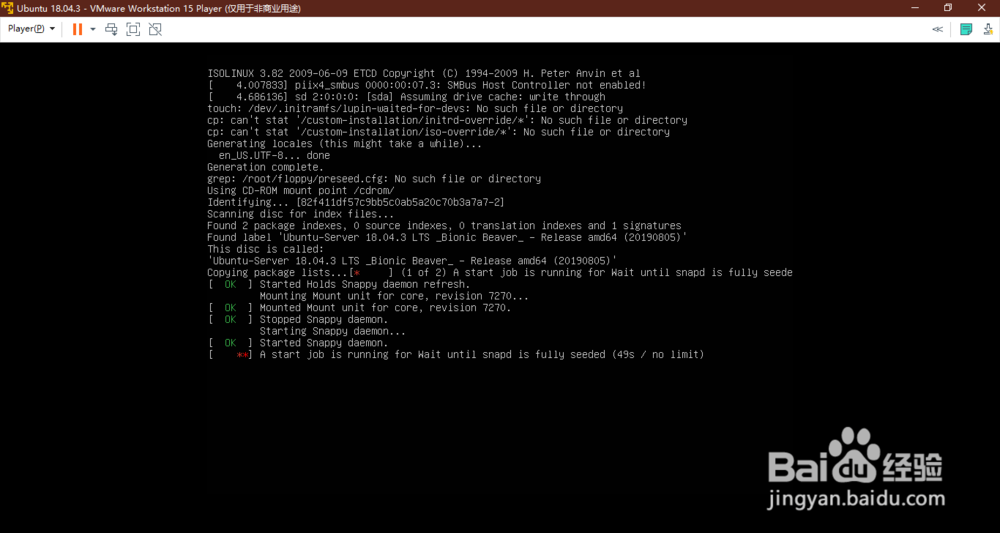
1、首先引导操作系统安装,此例使用虚拟机。
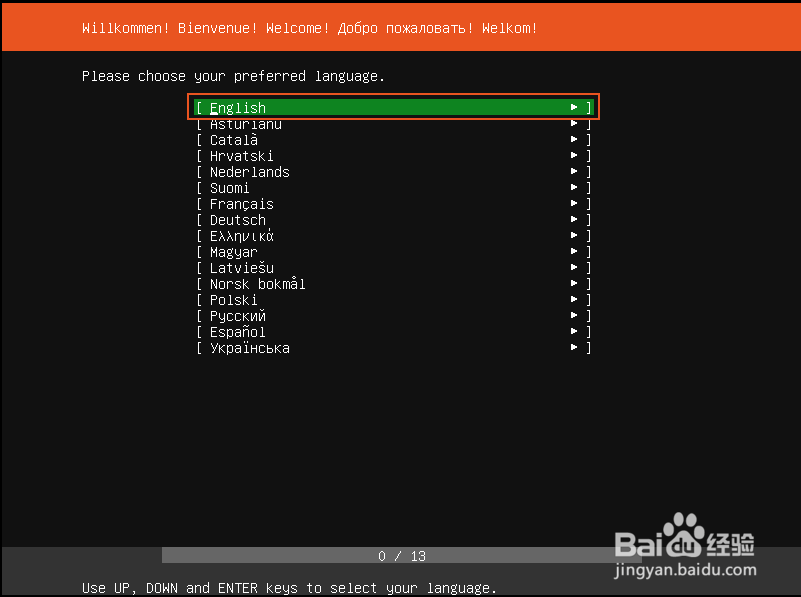
2、引导完成后进行操作系统安装前的相关设置,第一个是选择语言,通过上下键进行选择,然后按【回车】。
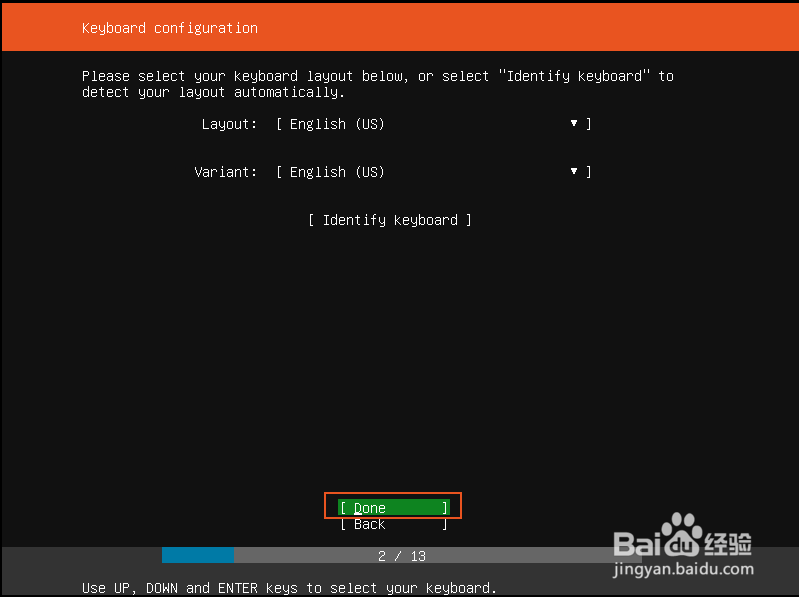
3、然后选择键盘布局,一般使用English(US),选择【Done】按【回车】键。
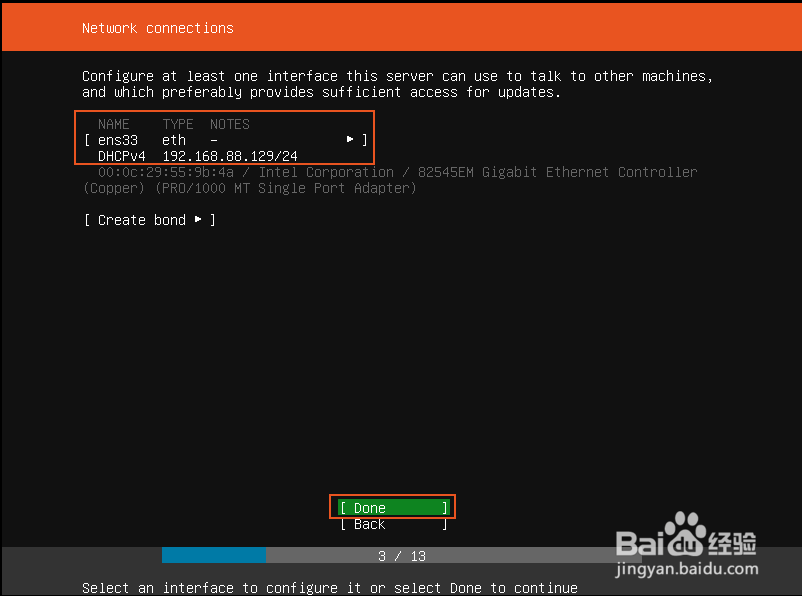
4、然后设置网络,设置完成后,选择【Done】按【回车】键。
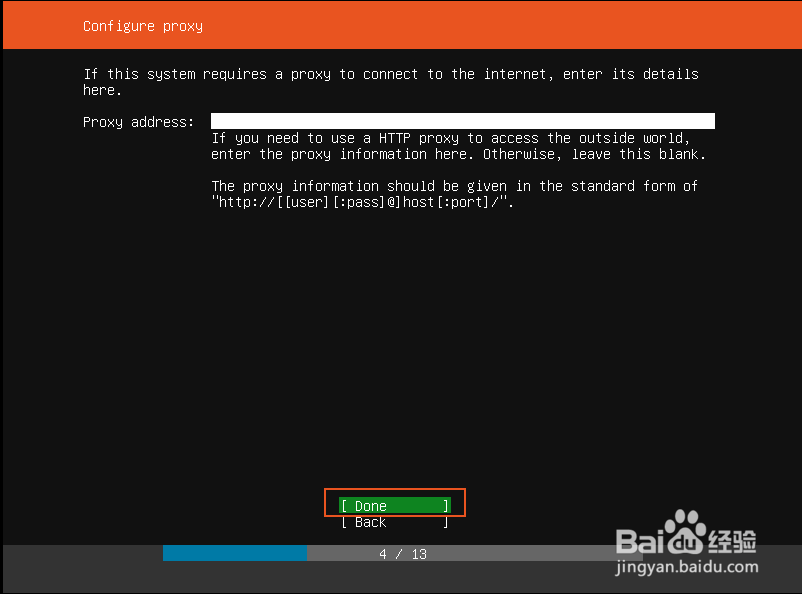
5、如果需要使用上网代理,则还需要设置代理,然后选择【Done】按【回车】键。
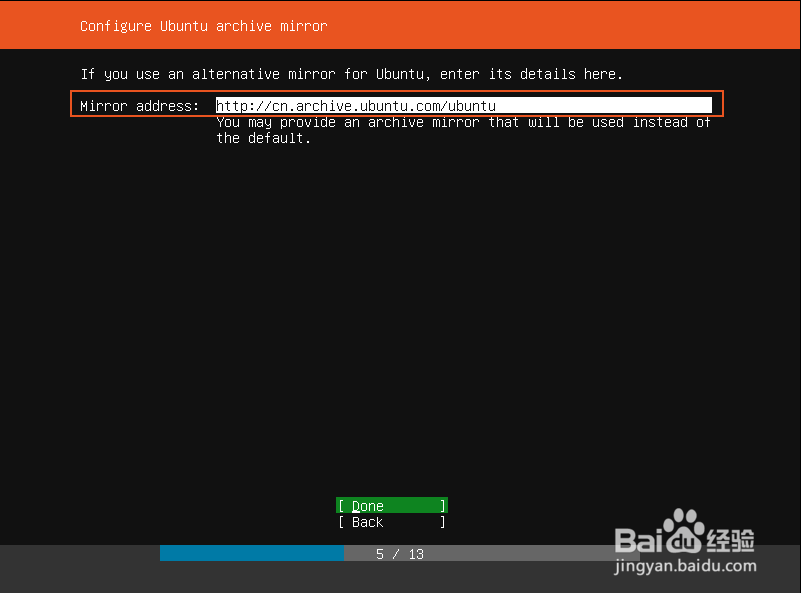
6、如果还需要用自己的镜像源,则需要手动设置,不然就使用默认的镜像源,然后选择【Done】按【回车】键。
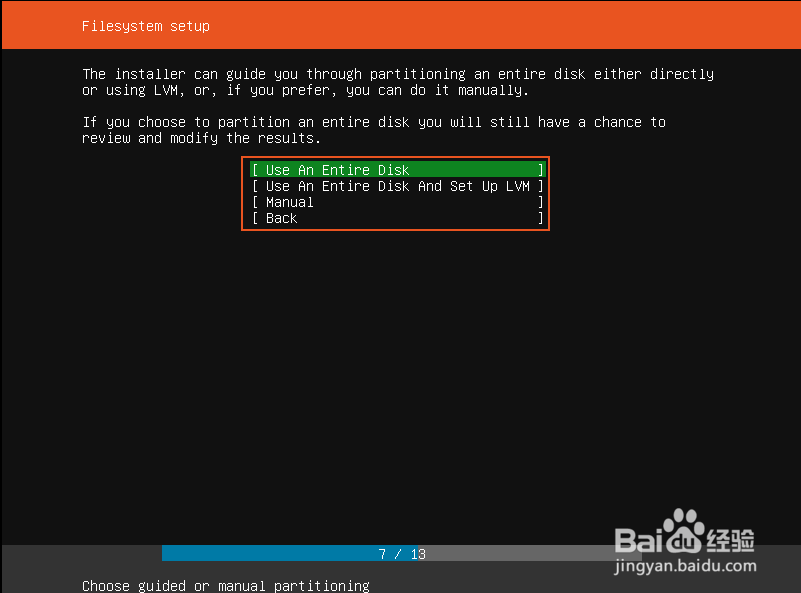
7、然后进行文件系统设置,选择是否需要手动进行分区,无特殊需要建议选择【Use An Entire Disk】,按【回车】。
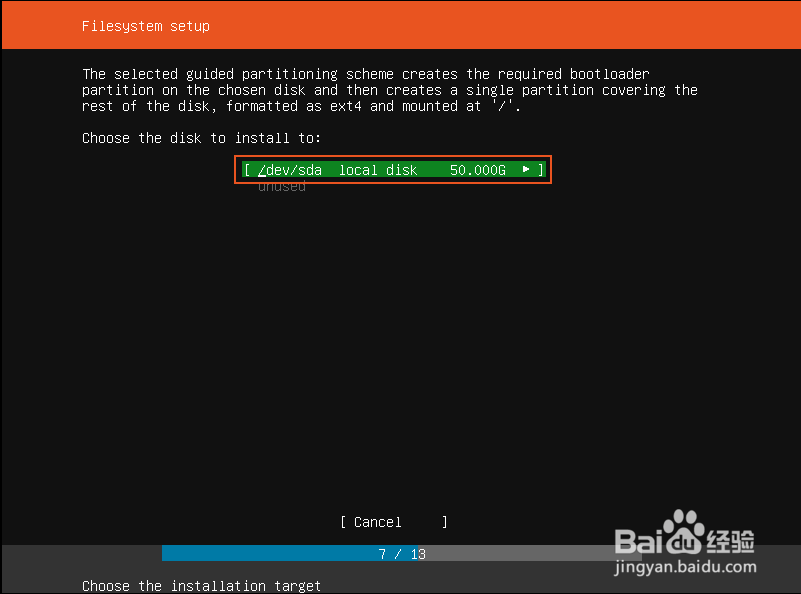
8、选择硬盘,然后按【回车】。
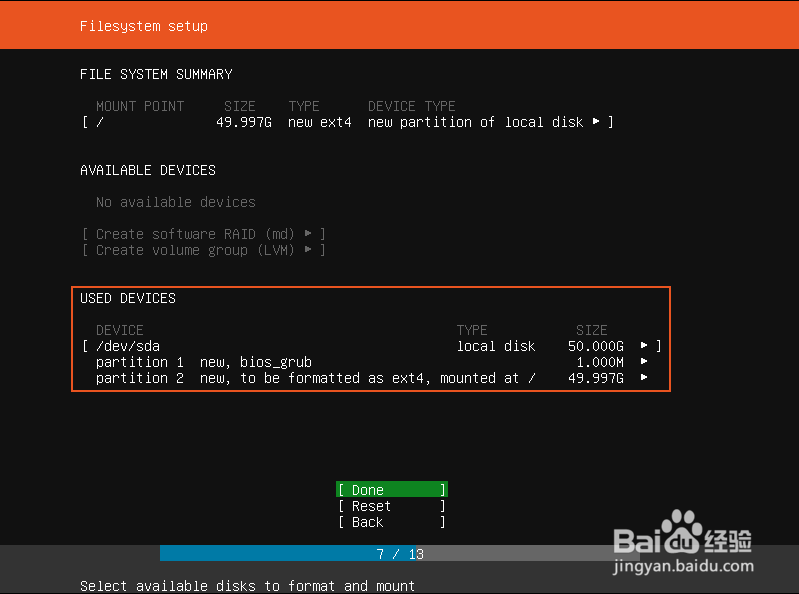
9、查看文件系统,如果需要自己修改则选择【Reset】进行修改,否则选择【Done】后按【回车】键。
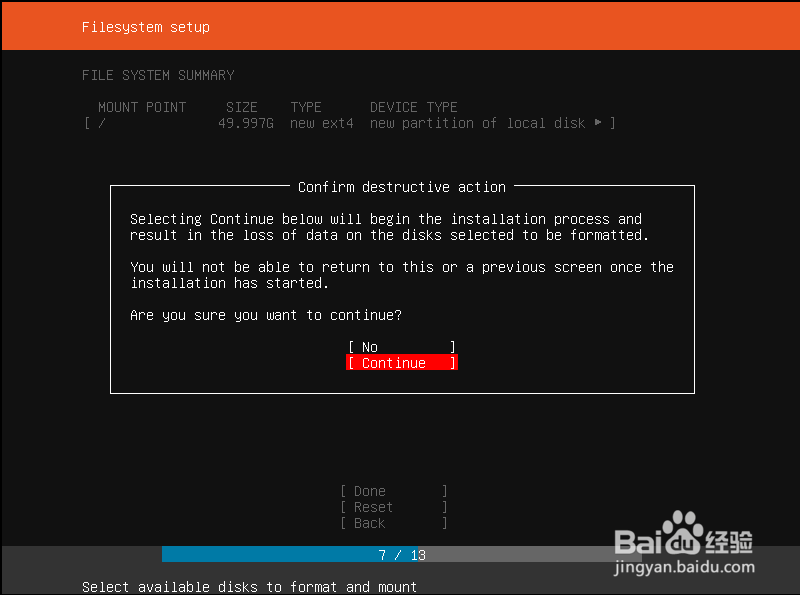
10、提醒并确认,选择【Continue】后按【回车】键。
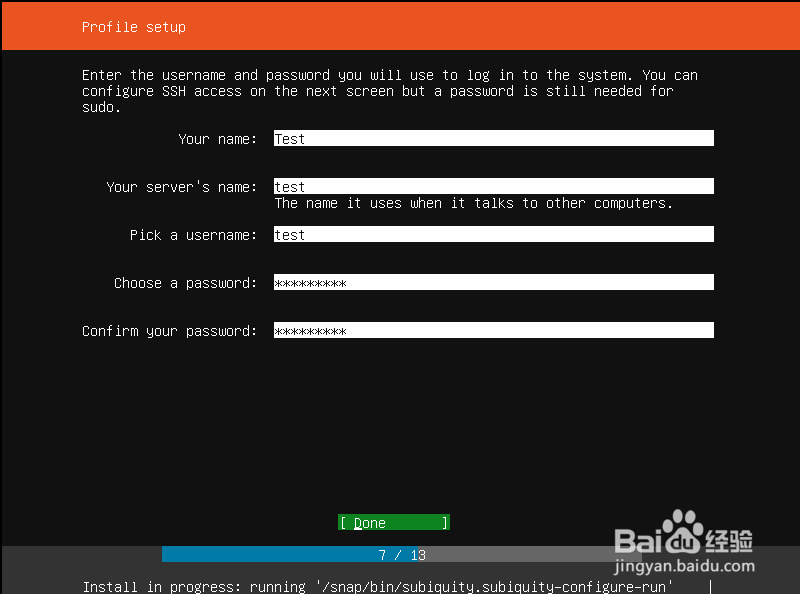
11、Profile设置,设置机器名、用户名和密码等。选择【Done】后按【回车】键。
12、选择是否需要安装SSH,SSH是远程命令访问的,强烈建议安装。按【空格】键选择后,选择【Done】后按【回车】键继续。

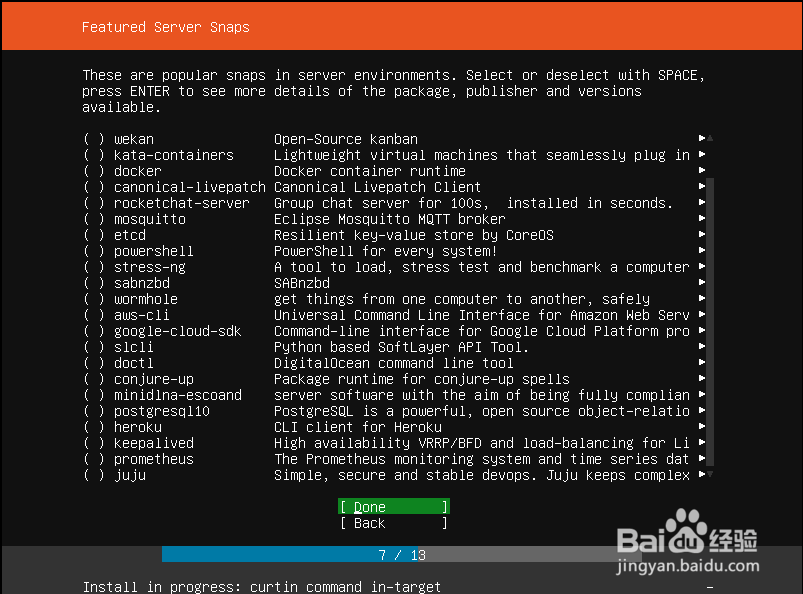
13、根据需要进行其他功能选择安装,选择【Done】后按【回车】键继续。
14、然后就开始安装系统了。
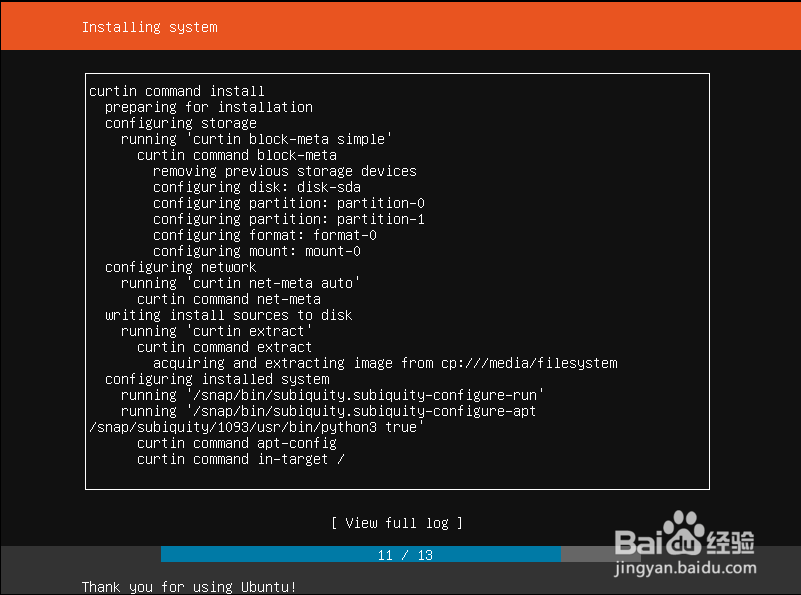
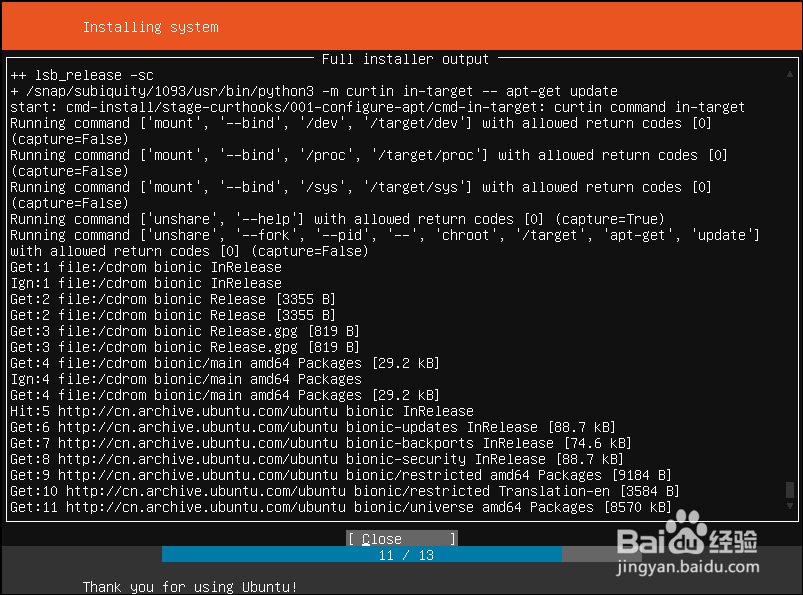
15、选择【View full log】能查看详细的安装日志。
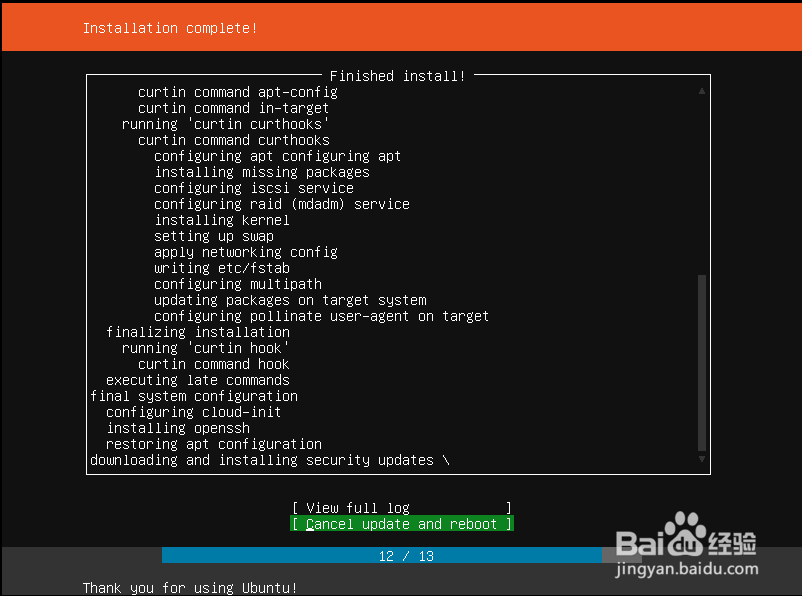
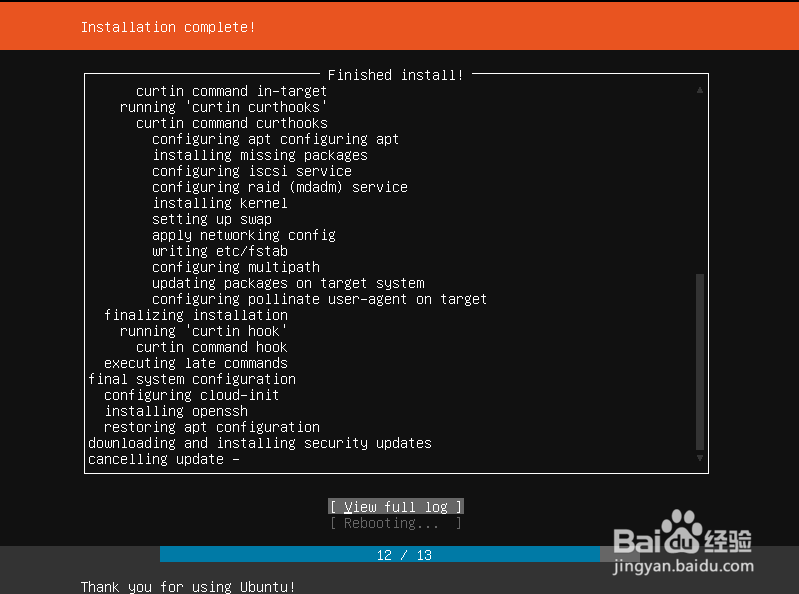
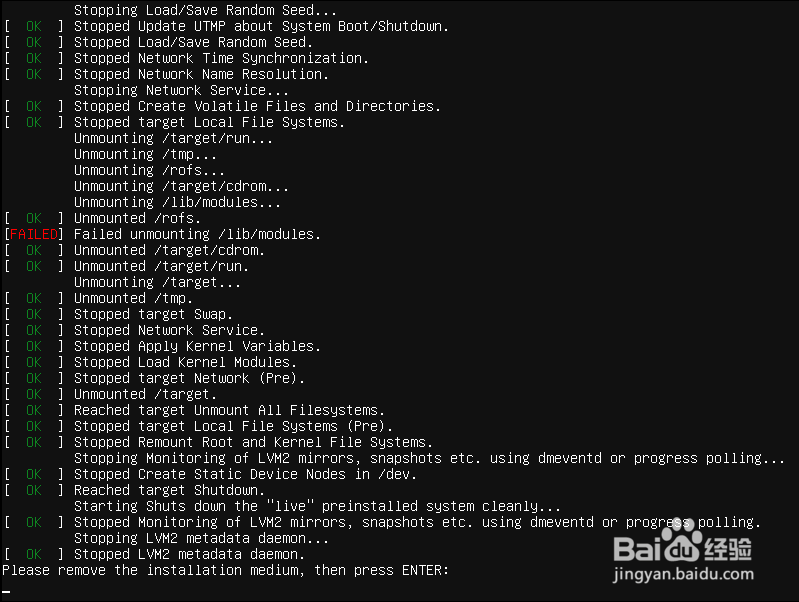
16、安装完成后,会下载和安装安全更新,不愿意等待则可以选择【Cancel update and reboot】。
17、然后会先取消更新,然后重启。
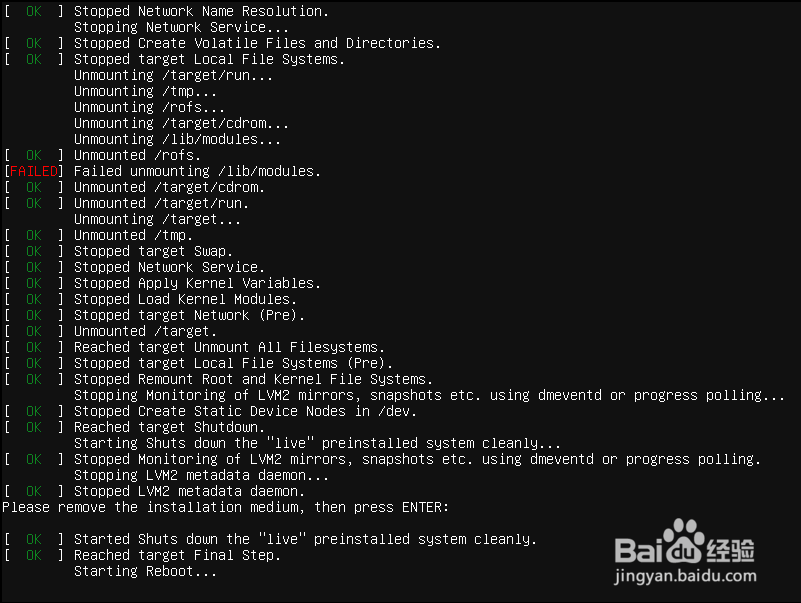
18、会提示“移除安装介质后,按回车”,按【回车】键进行重启。
19、系统开始重启。
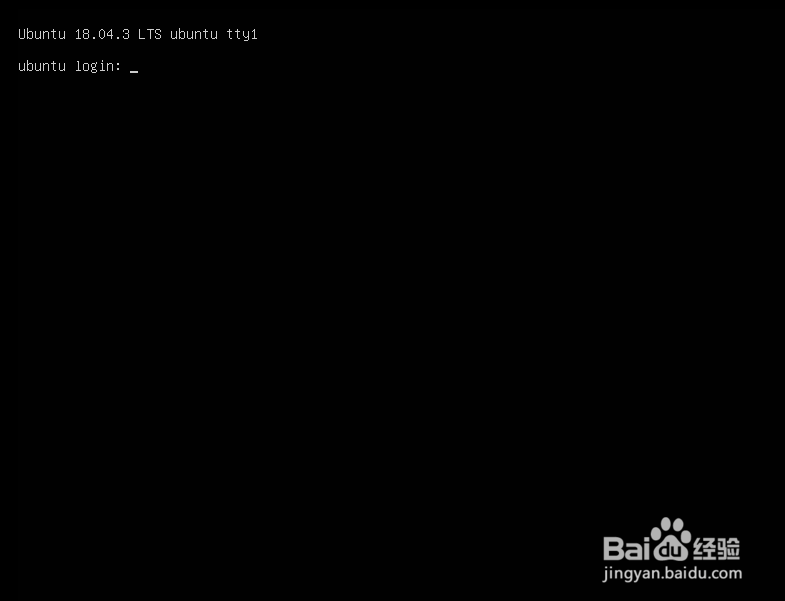
20、重启完成后会进行登录界面,输入安装时设置的用户名和密码登录就可以使用Ubuntu Server操作系统了。
阅读量:123
阅读量:190
阅读量:97
阅读量:27
阅读量:131