Axure交互基础第二篇-开始你的第二个交互原型2
第一个原型你完成了吗??来,咱们开始第二个交互设计原型吧,图片轮播,是不是一种很常见的功能呢?所以,这一集,你也必须要学会!也是英文哦,请注意查看,不要浪费了我的良苦用心,后续也许我会直接再下面翻译成中文。这一章节也很复杂,所以会分成两篇,亲们,开始啦,这是第二篇哦!
工具/原料
Axure
your English
ADD AN IMAGE TO EACH STATE
1、Open state BikeMiddle。Double-click the "BikeMiddle" state in the "Widget Manager" to open it in the Design Area.

2、Import Image。Double-click the image widget and import the second image.
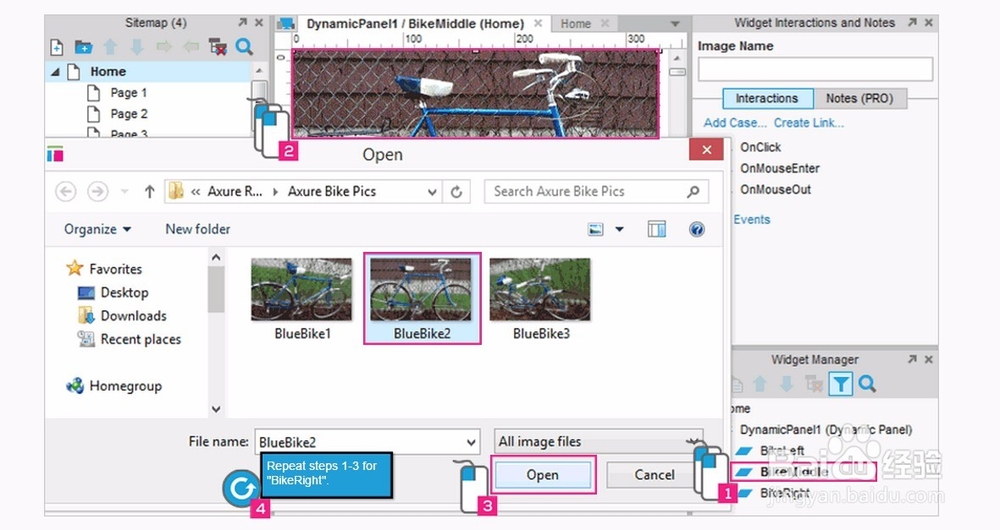
3、Click Open。Click "Open" to use the picture.Click "Yes" when asked to autosize.

4、Repeat for BikeRight。Repeat steps 1-3 to place the third image on the "BikeRight" state.

MAKE CLICKING NEXT SET THE PANEL TO THE NEXT STATE
1、Select Next Button。Select the "Next" button shape widget on the "Home" page.
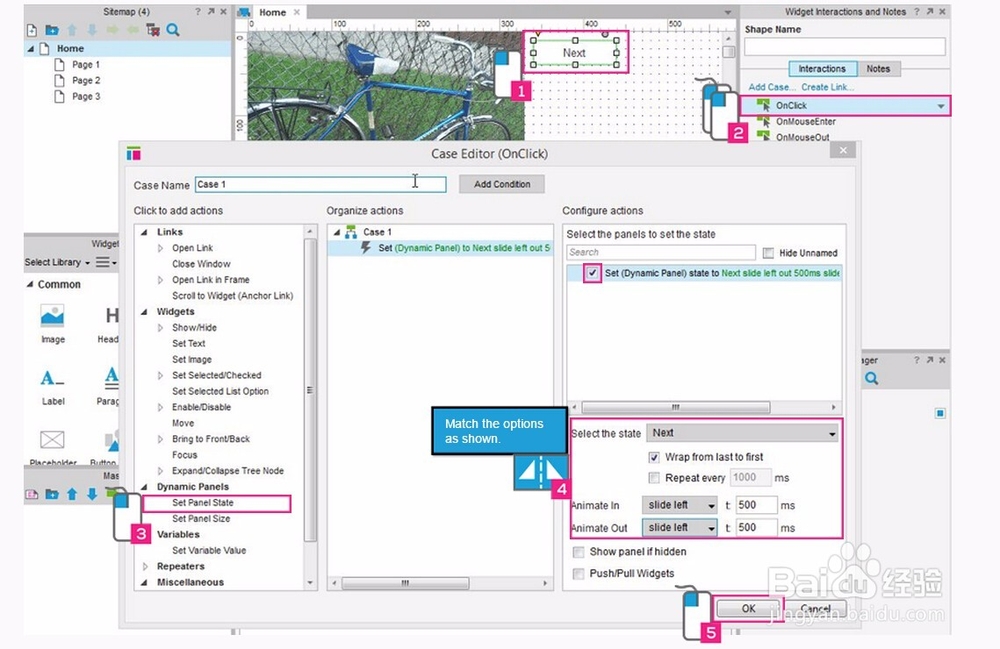
2、Add a Case to OnClick。Double-click the OnClick Event for the button shape to add a Case.

3、Add Action。Select the action in the left most column for "Set Panel State".

4、Specify Panel and Options。Choose "DynamicPanel1" and match the options for the action as shown above.

5、Click OK。Click the "OK" button to add the action.
